This morning I tied up a mess of tiny poppers for panfish in anticipation of warmer weather to come. These little poppers are perfect early season offerings when the fish start looking up. I create popper bodies out of a variety of materials, including foam, cork, balsa wood, and hard plastic. All of the materials mentioned are great options for making panfish bugs, but for the tiny poppers, I like hard-bodied foam.
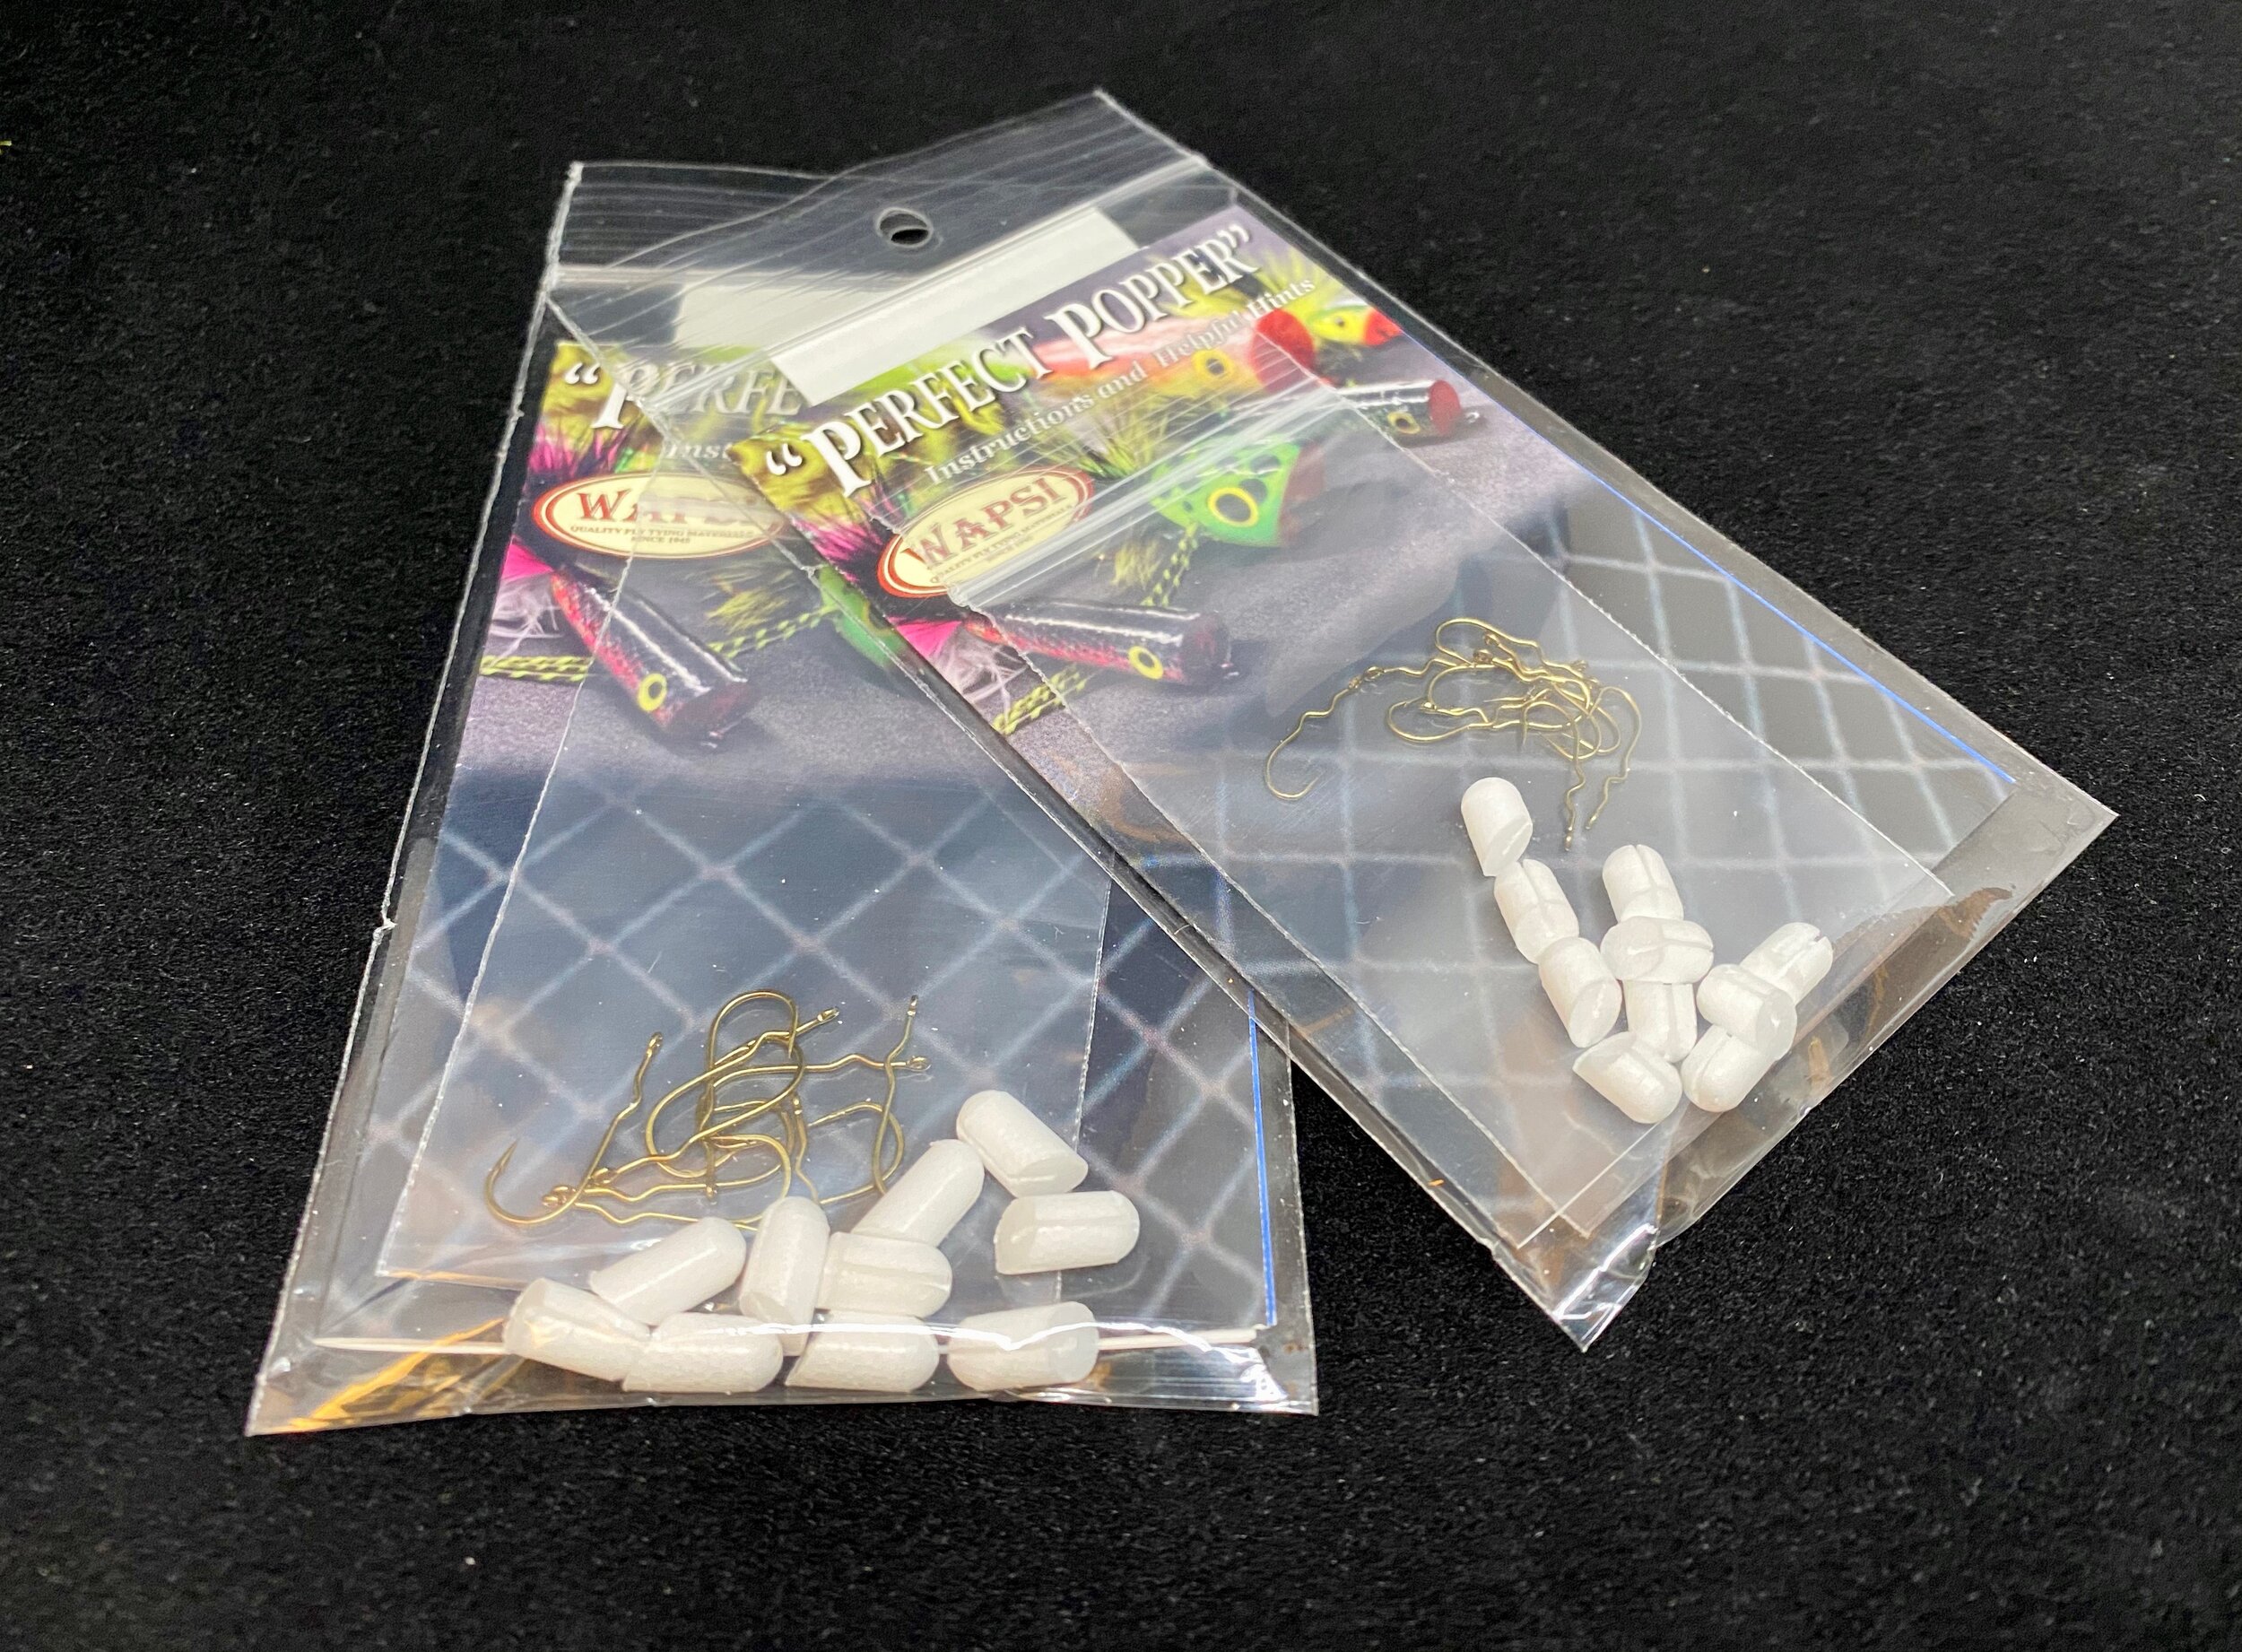
Waspi Perfect Popper Kits are available in a wide range of sizes.
I build these hard foam poppers using the Perfect Popper kits from Waspi. These kits are available in a variety of sizes from a tiny size 12 Bream Popper up to large saltwater sizes. For panfish, I like the two smallest sizes, the size 10 & 12 Bream Poppers. These small hard-bodied poppers are perfect for bluegills and other panfish. They are incredibly durable, something that is important when dealing with tiny poppers like this. Other materials like cork, foam, and wood can be on the delicate side when dealing with poppers this small. The hard foam bodies are nearly indestructible despite their minuscule size.
As I mentioned earlier, these poppers are available as a kit. The Bream Poppers are sold in a package with ten bodies and ten hooks. The white foam can be easily colored with permanent markers, paint, or airbrushes. Assembling the popper could not be any easier. Before UV resin came on the market, I would build these poppers by putting a single layer of fine thread on the hook shank, coat this wrapping with a layer of superglue and wedge the hook into the precut grove on the bottom of the popper. These days I omit the thread wraps and apply the glue right to the hook shank and insert it into the groove. I then fill that slot with UV resin and cure it. The result is the hook is permanently bonded to the hard foam body.

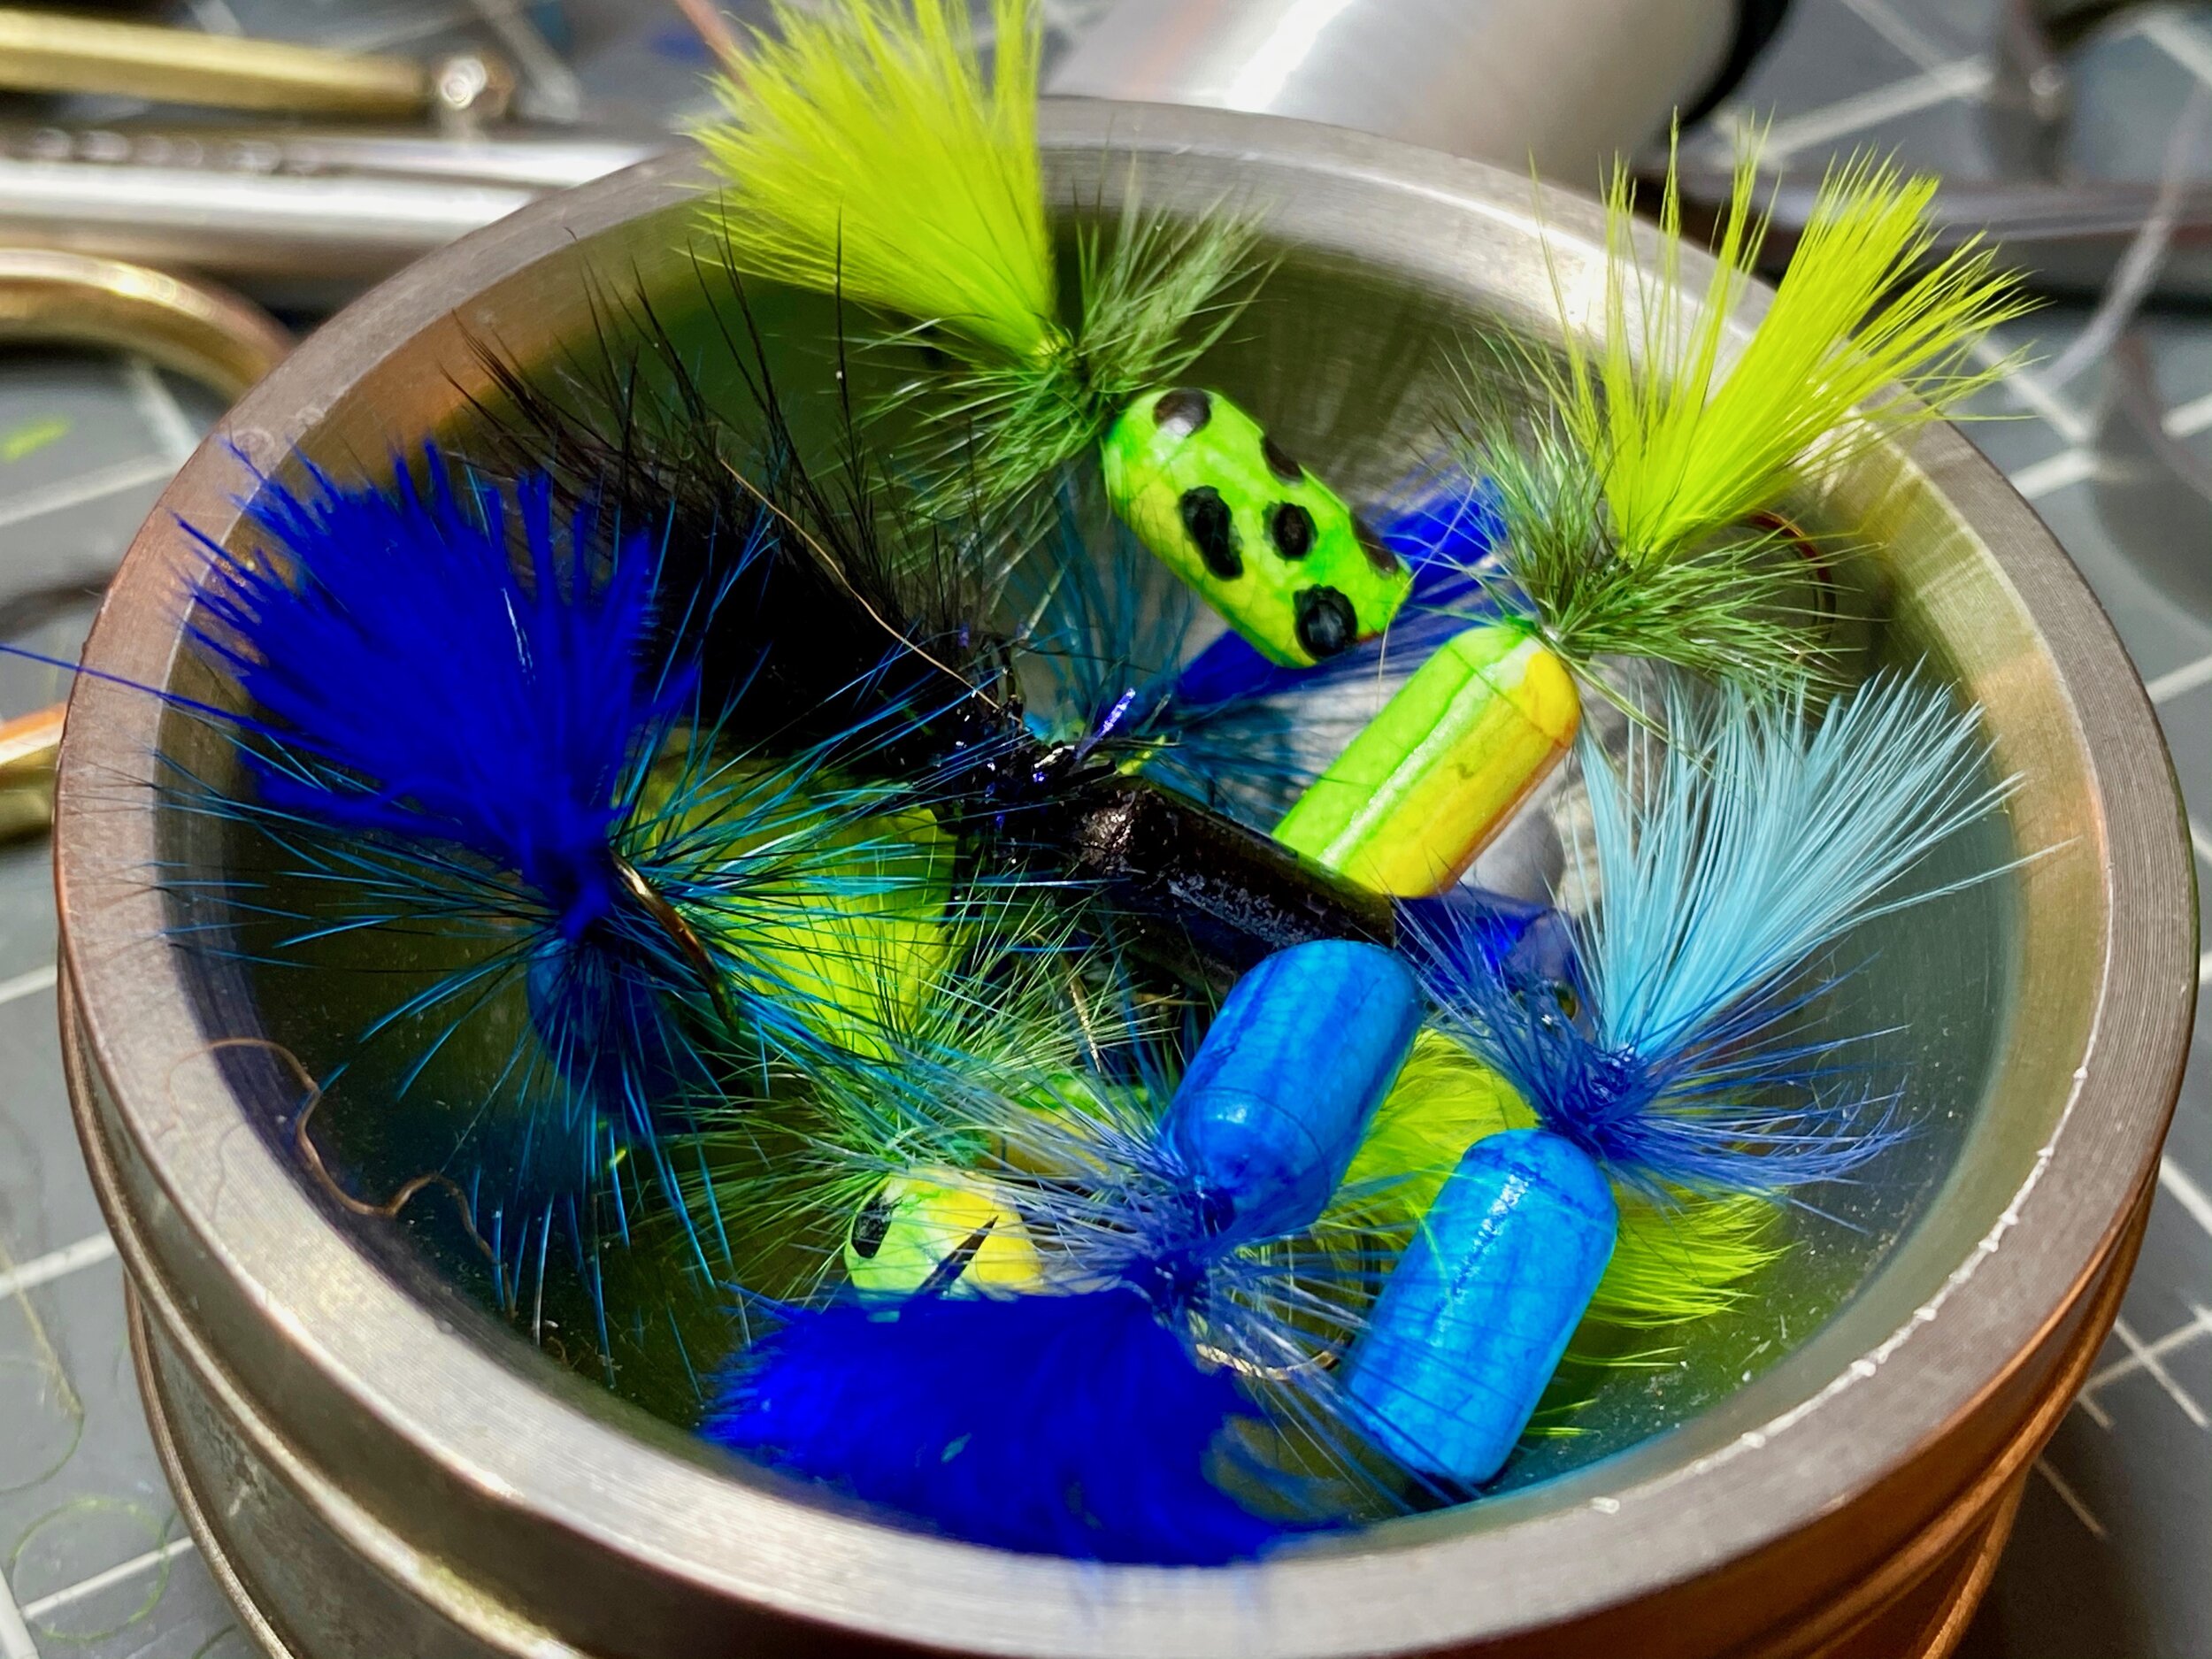
The hard foam bodies can be easily colored with permanent markers. These tiny blue poppers are just the ticket when blue damselflies are on the water.
The next step is to add some color to the body. My preferred method, and by far the easiest, is to use permanent markers. Markers allow you to easily create solid colors or intricate patterns quickly and easily with no fuss or mess. To protect that new finish, I usually give the popper body a coat of Loon Soft Head. Loon Soft Head is unique in that it will not cause the ink from the permanent markers to run when I give them the final coat of UV resin to give that popper a bombproof, high gloss finish. If you are in a rush to hit the water, color the popper up with a marker and have at it. Under most conditions, the finish will hold up just fine.
With pre-formed bodies from Waspi and some permanent markers you can whip up a mess of poppers in no time at all!
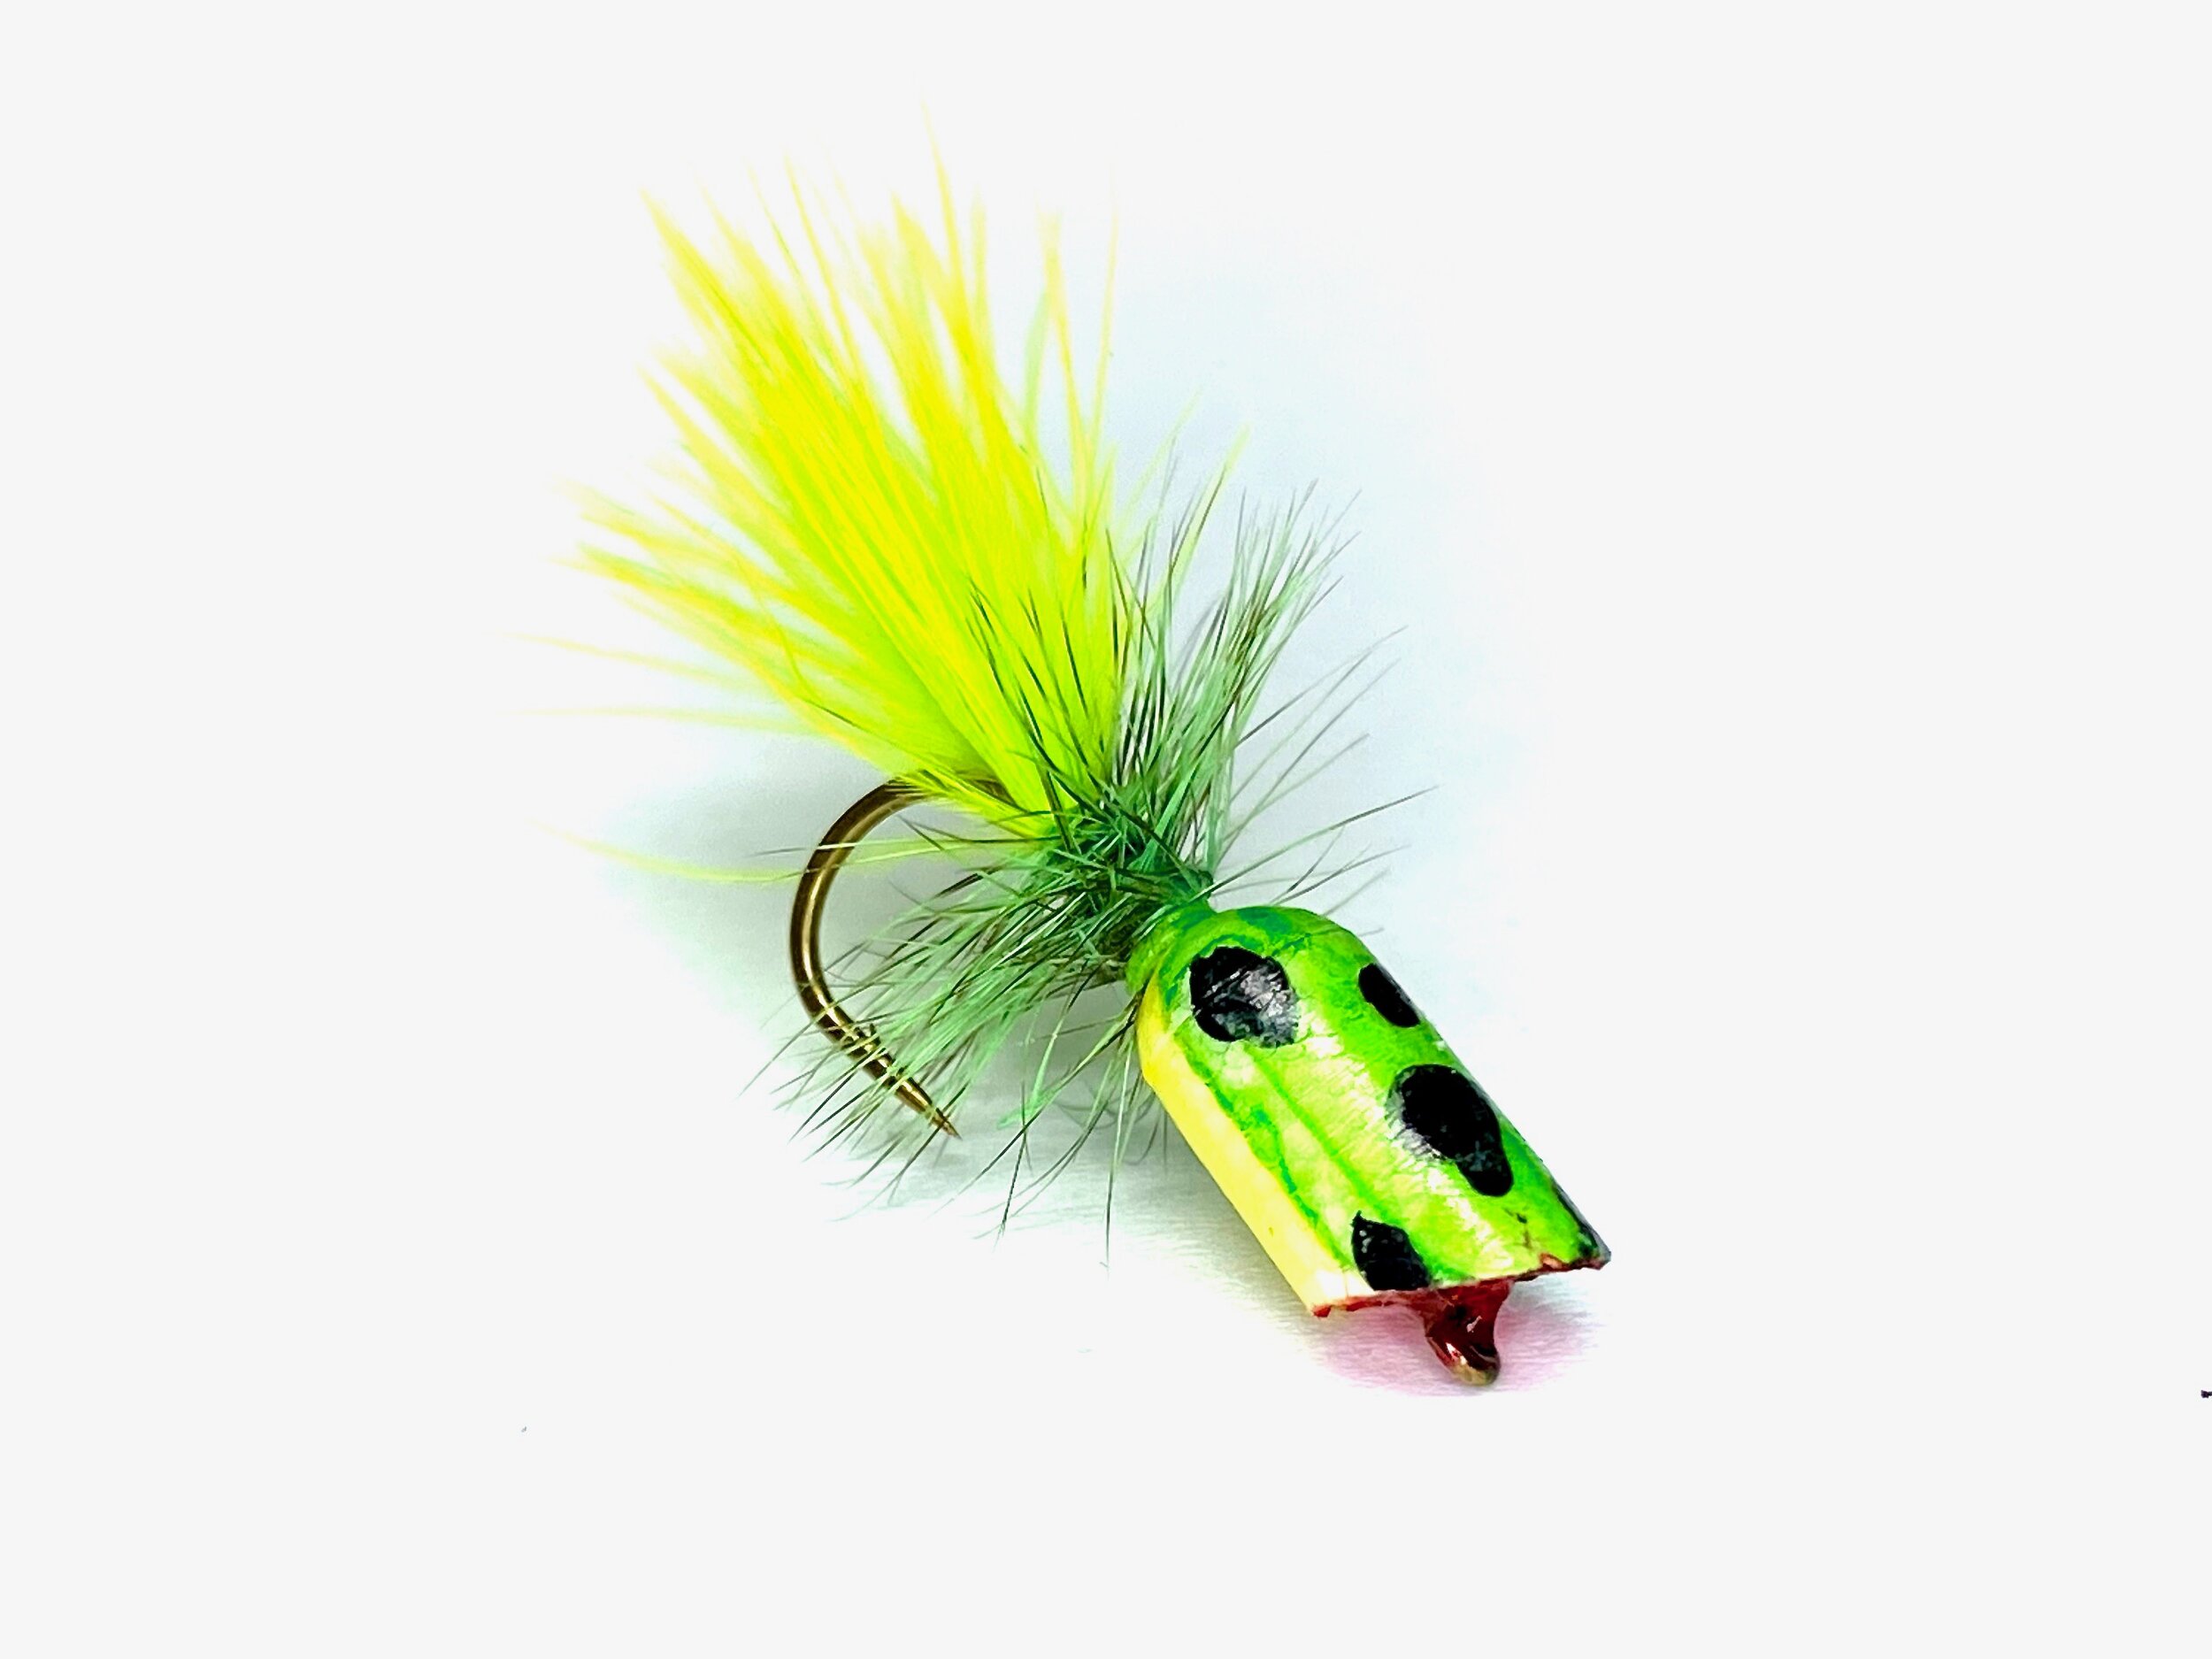
The final step is to dress them up the way you like them. On these small sizes, I usually don't bother with adding rubber legs through the bodies. On larger poppers, I will often bore a hole through the hard body and add some rubber legs for a little added sex appeal, but it seems like overkill with these tiny bodies. In fact, it may adversely affect the popper's ability to float. There is not a lot of material in these small poppers, so I like to keep my hook dressings sparse to keep the fly floating high.
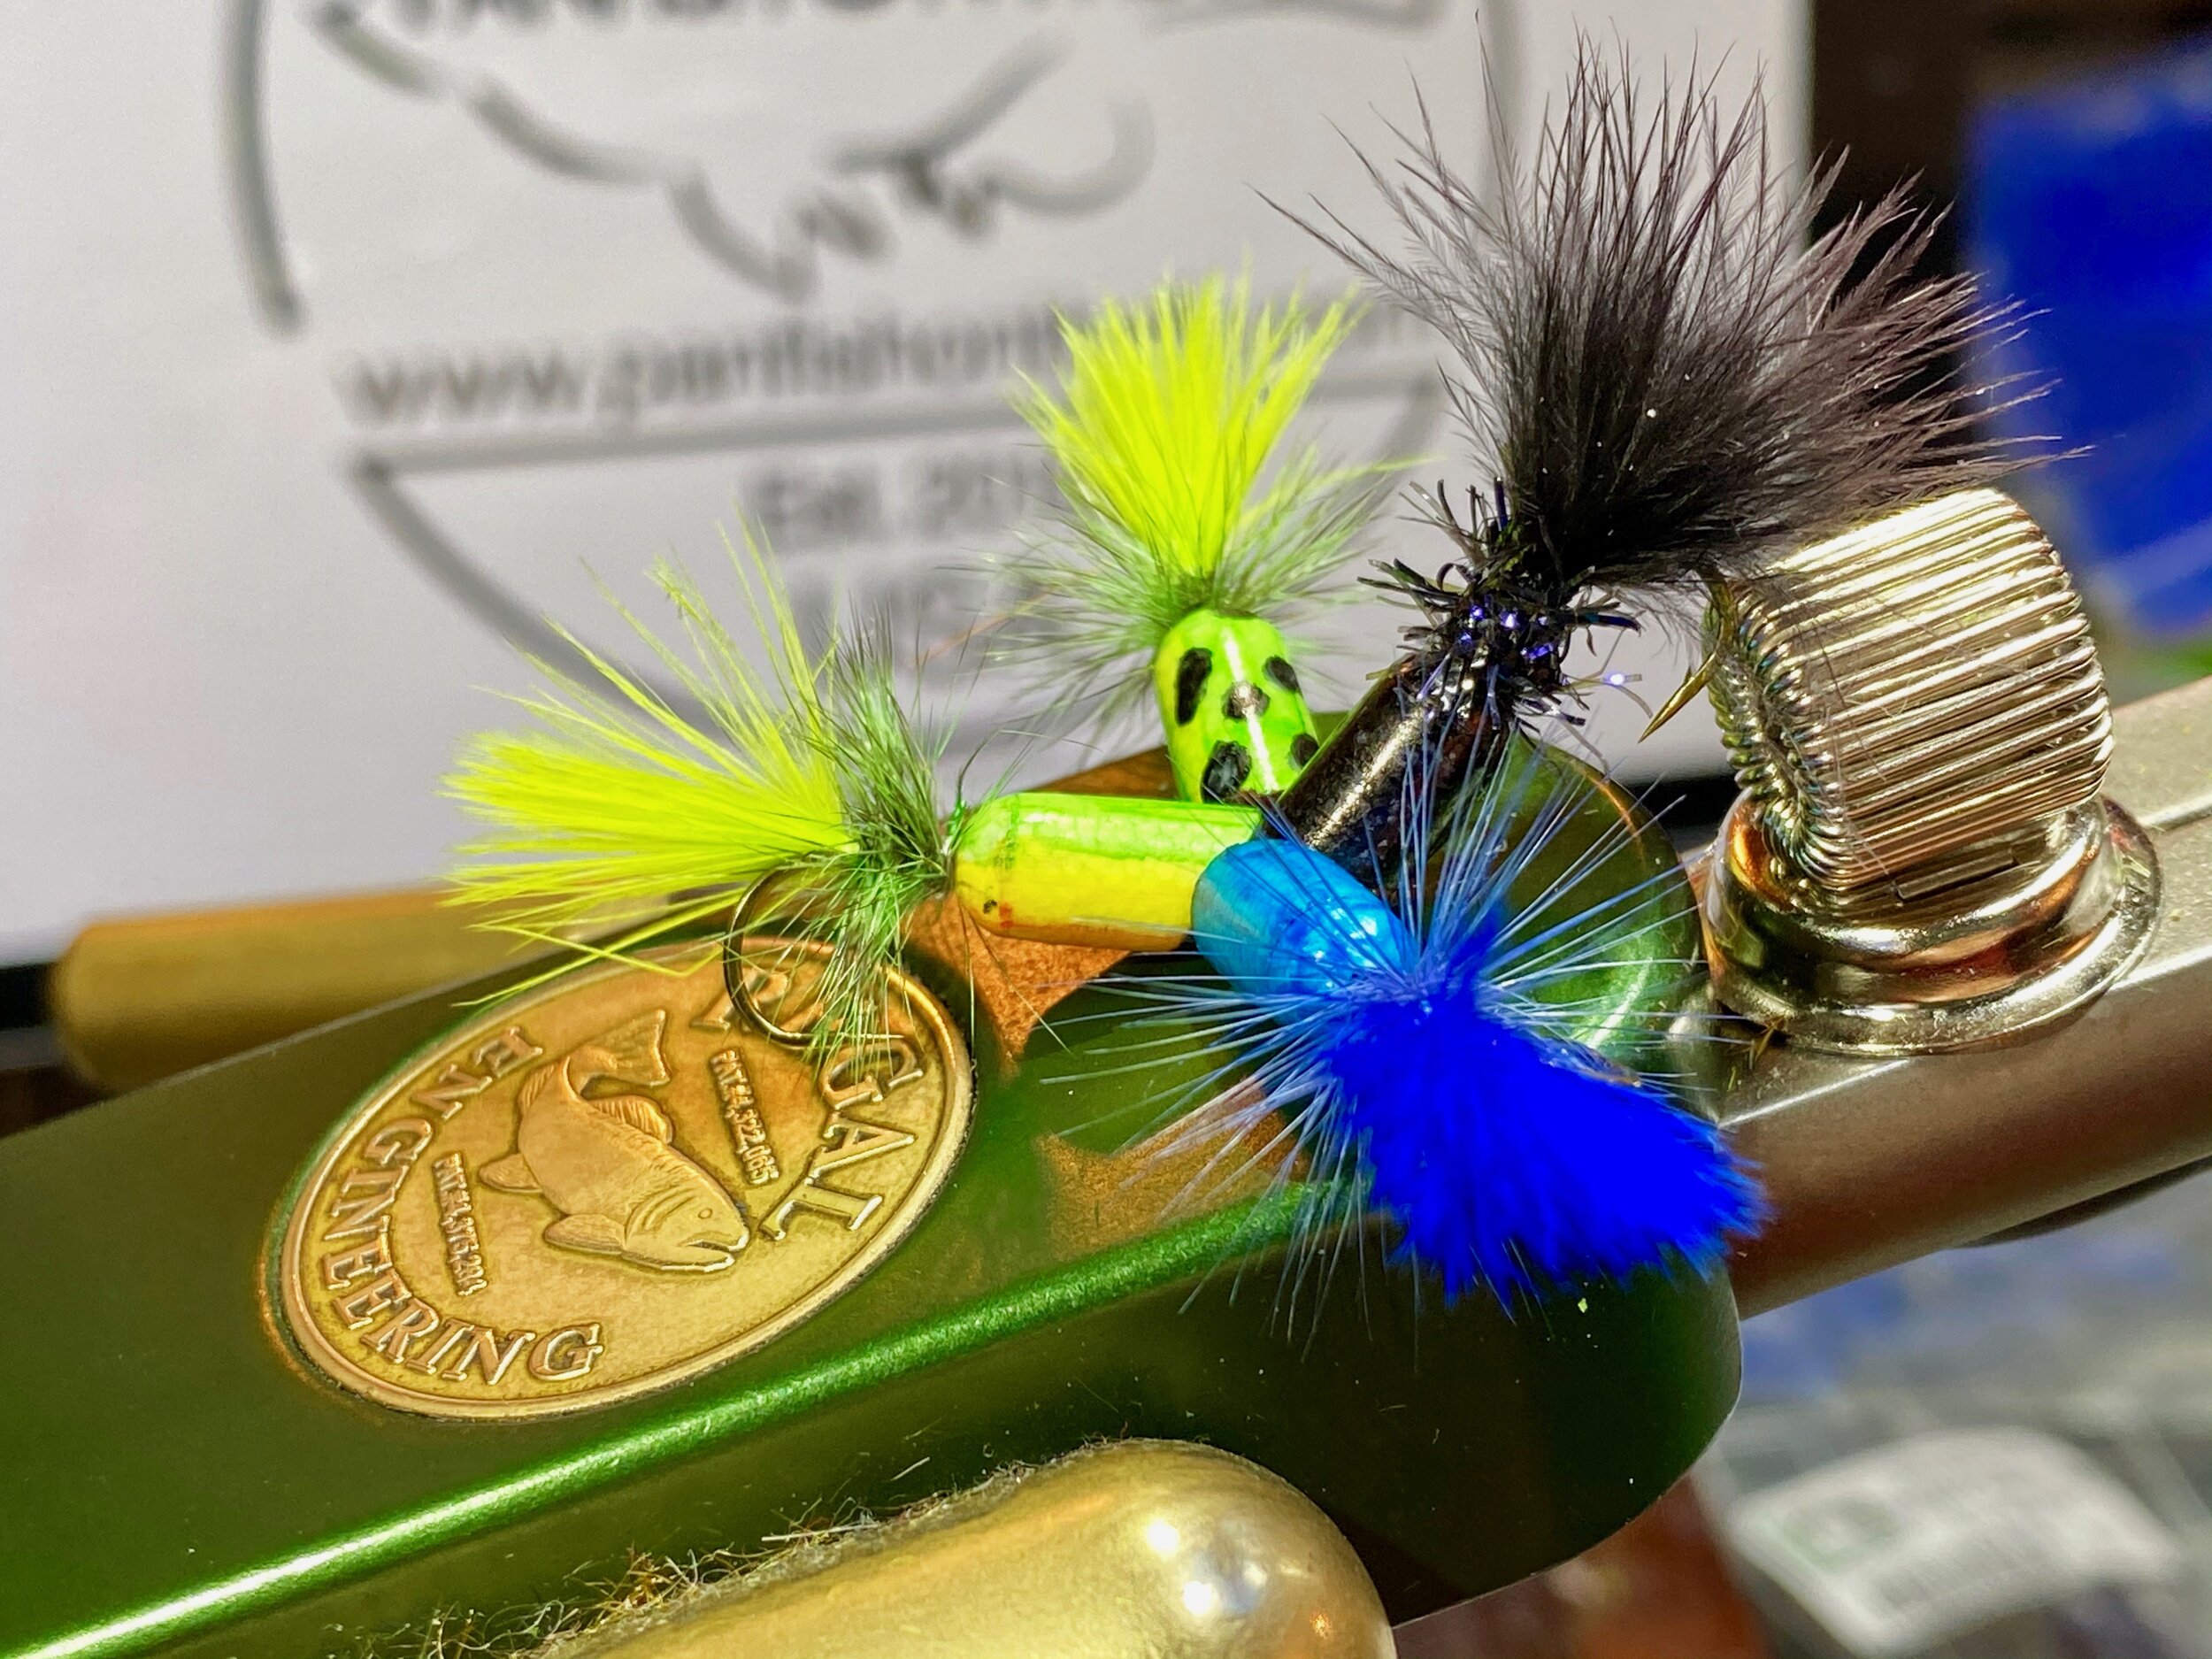
When it comes to making poppers, your only limited by your imagination! Experiment with different colors and materials to make the “perfect” panfish popper.
I get a lot of satisfaction out of building a popper from scratch using raw materials like foam or balsa wood. Sometimes I want to whip up some bugs without all the fuss. These popper kits from Waspi take all the guesswork out of building your poppers and make it easy for you to create great-looking poppers for everything from bluegills to bluefish!