
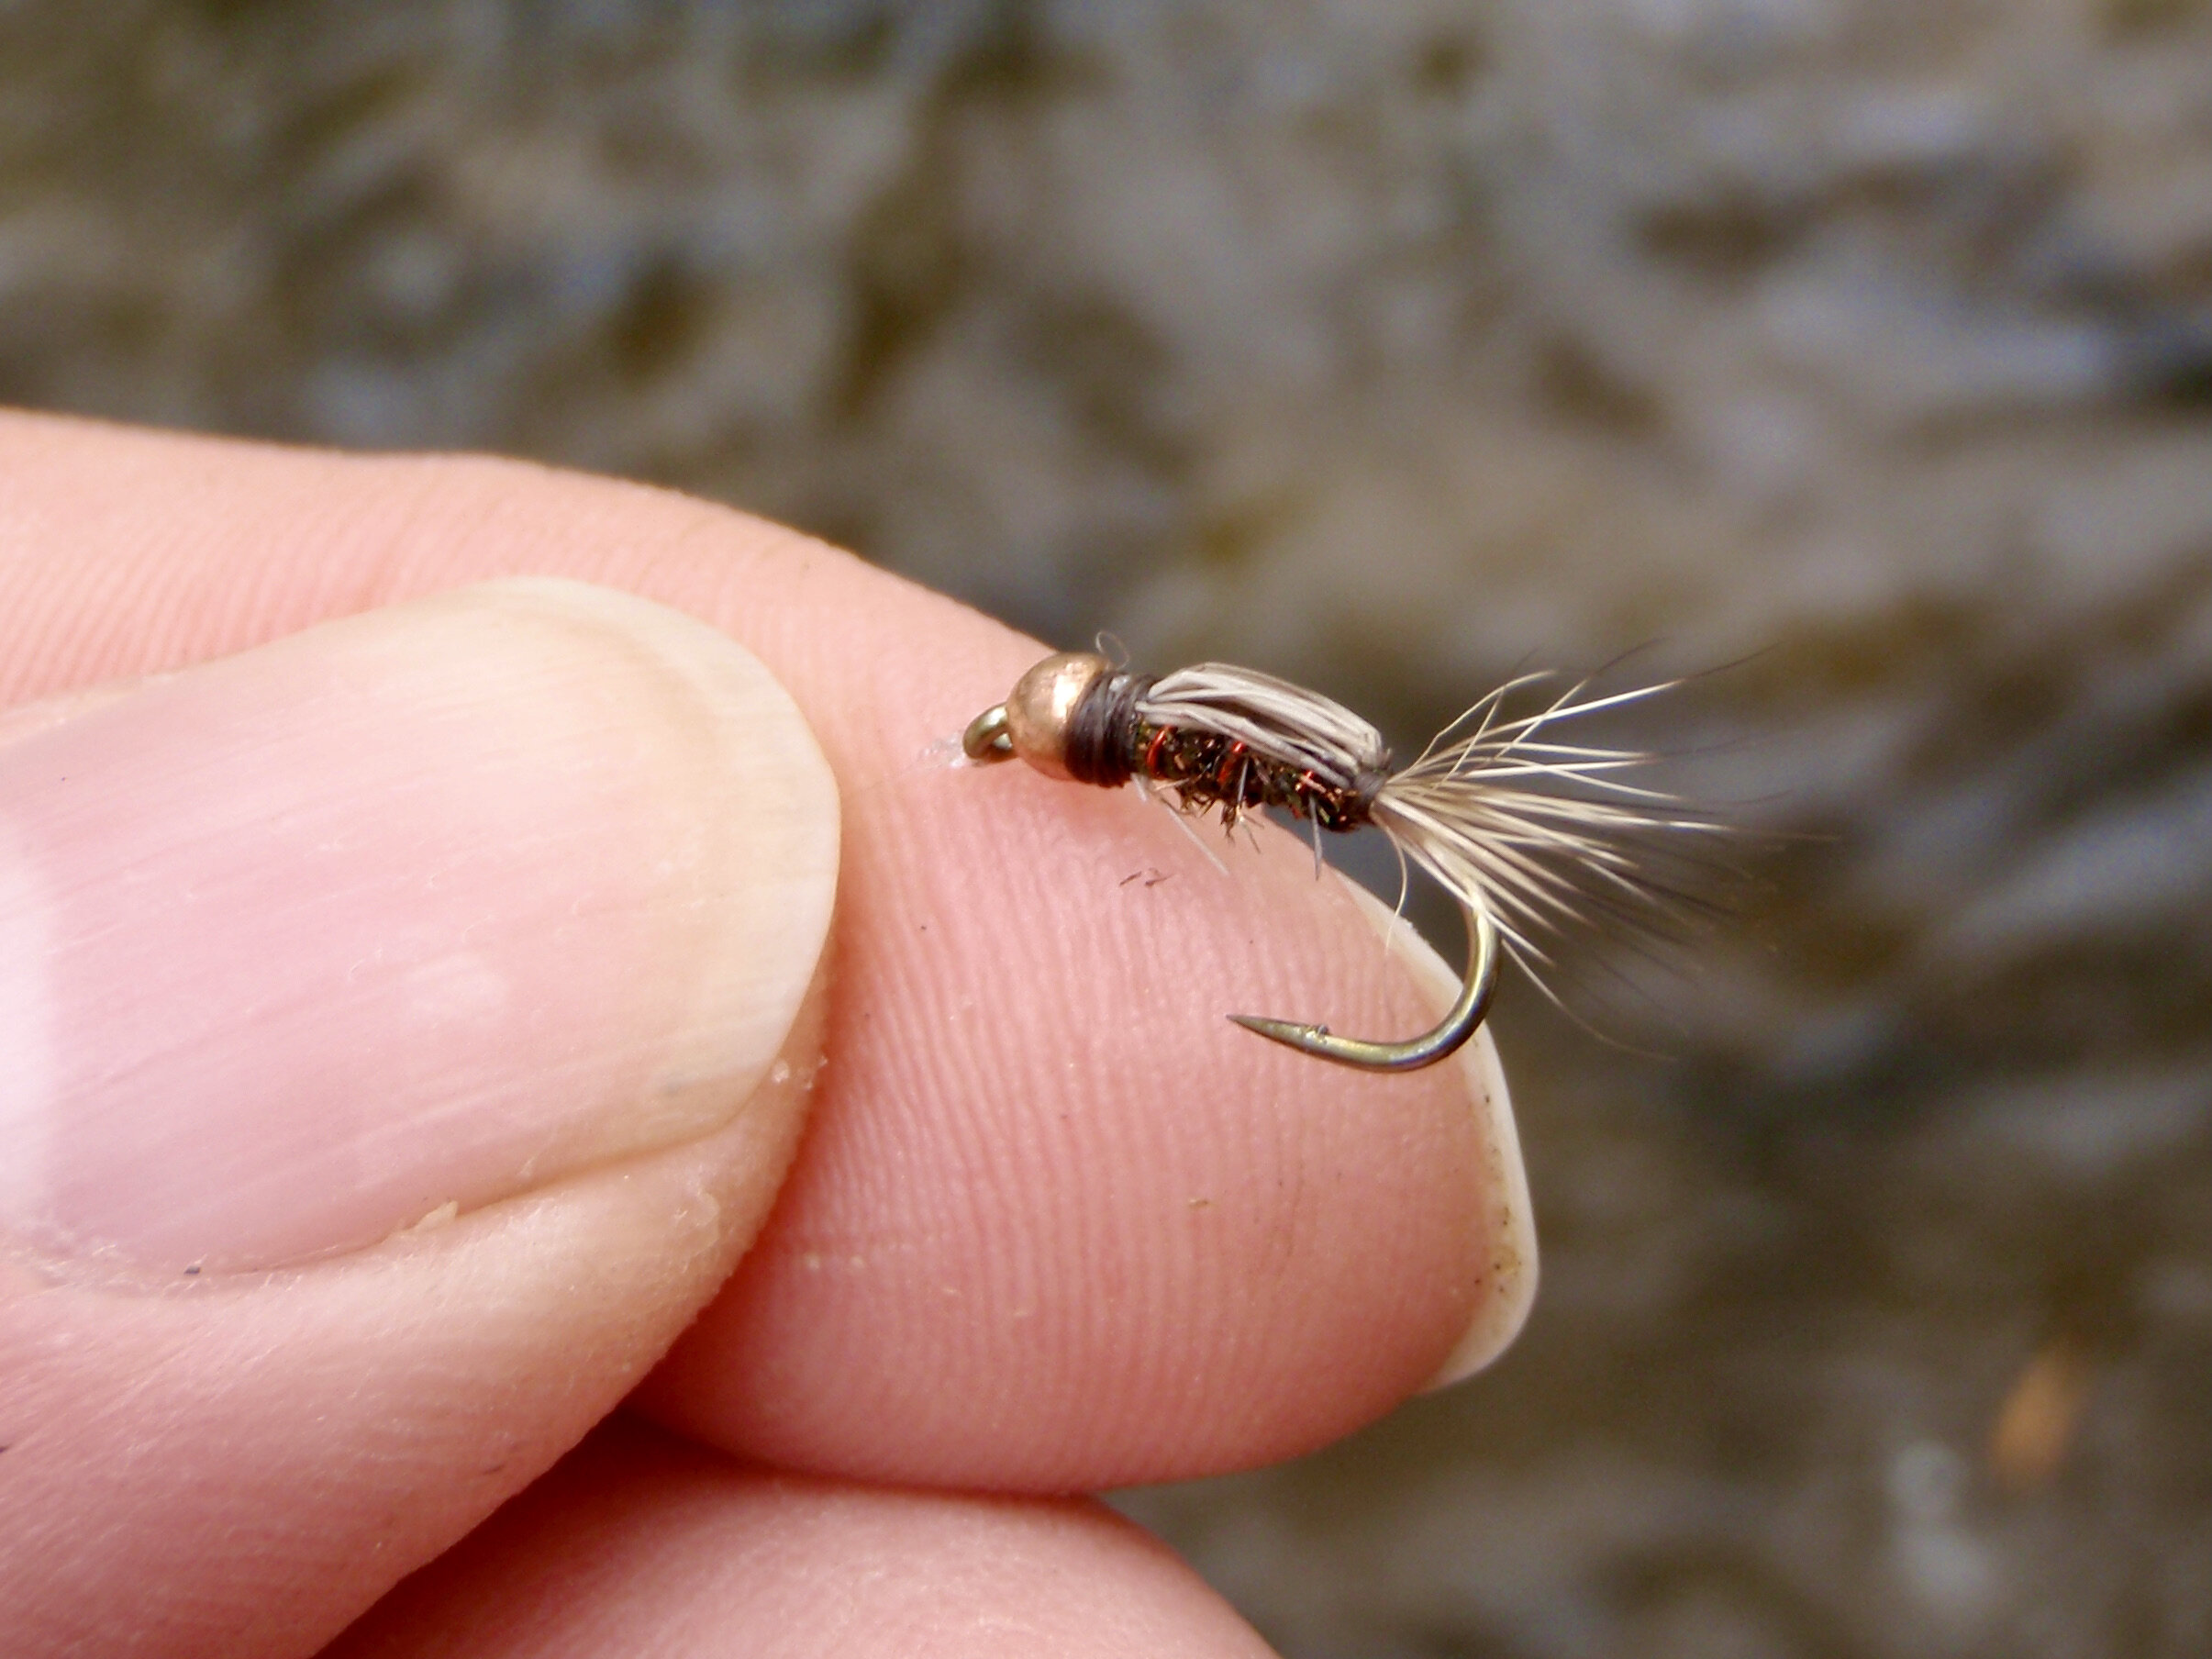
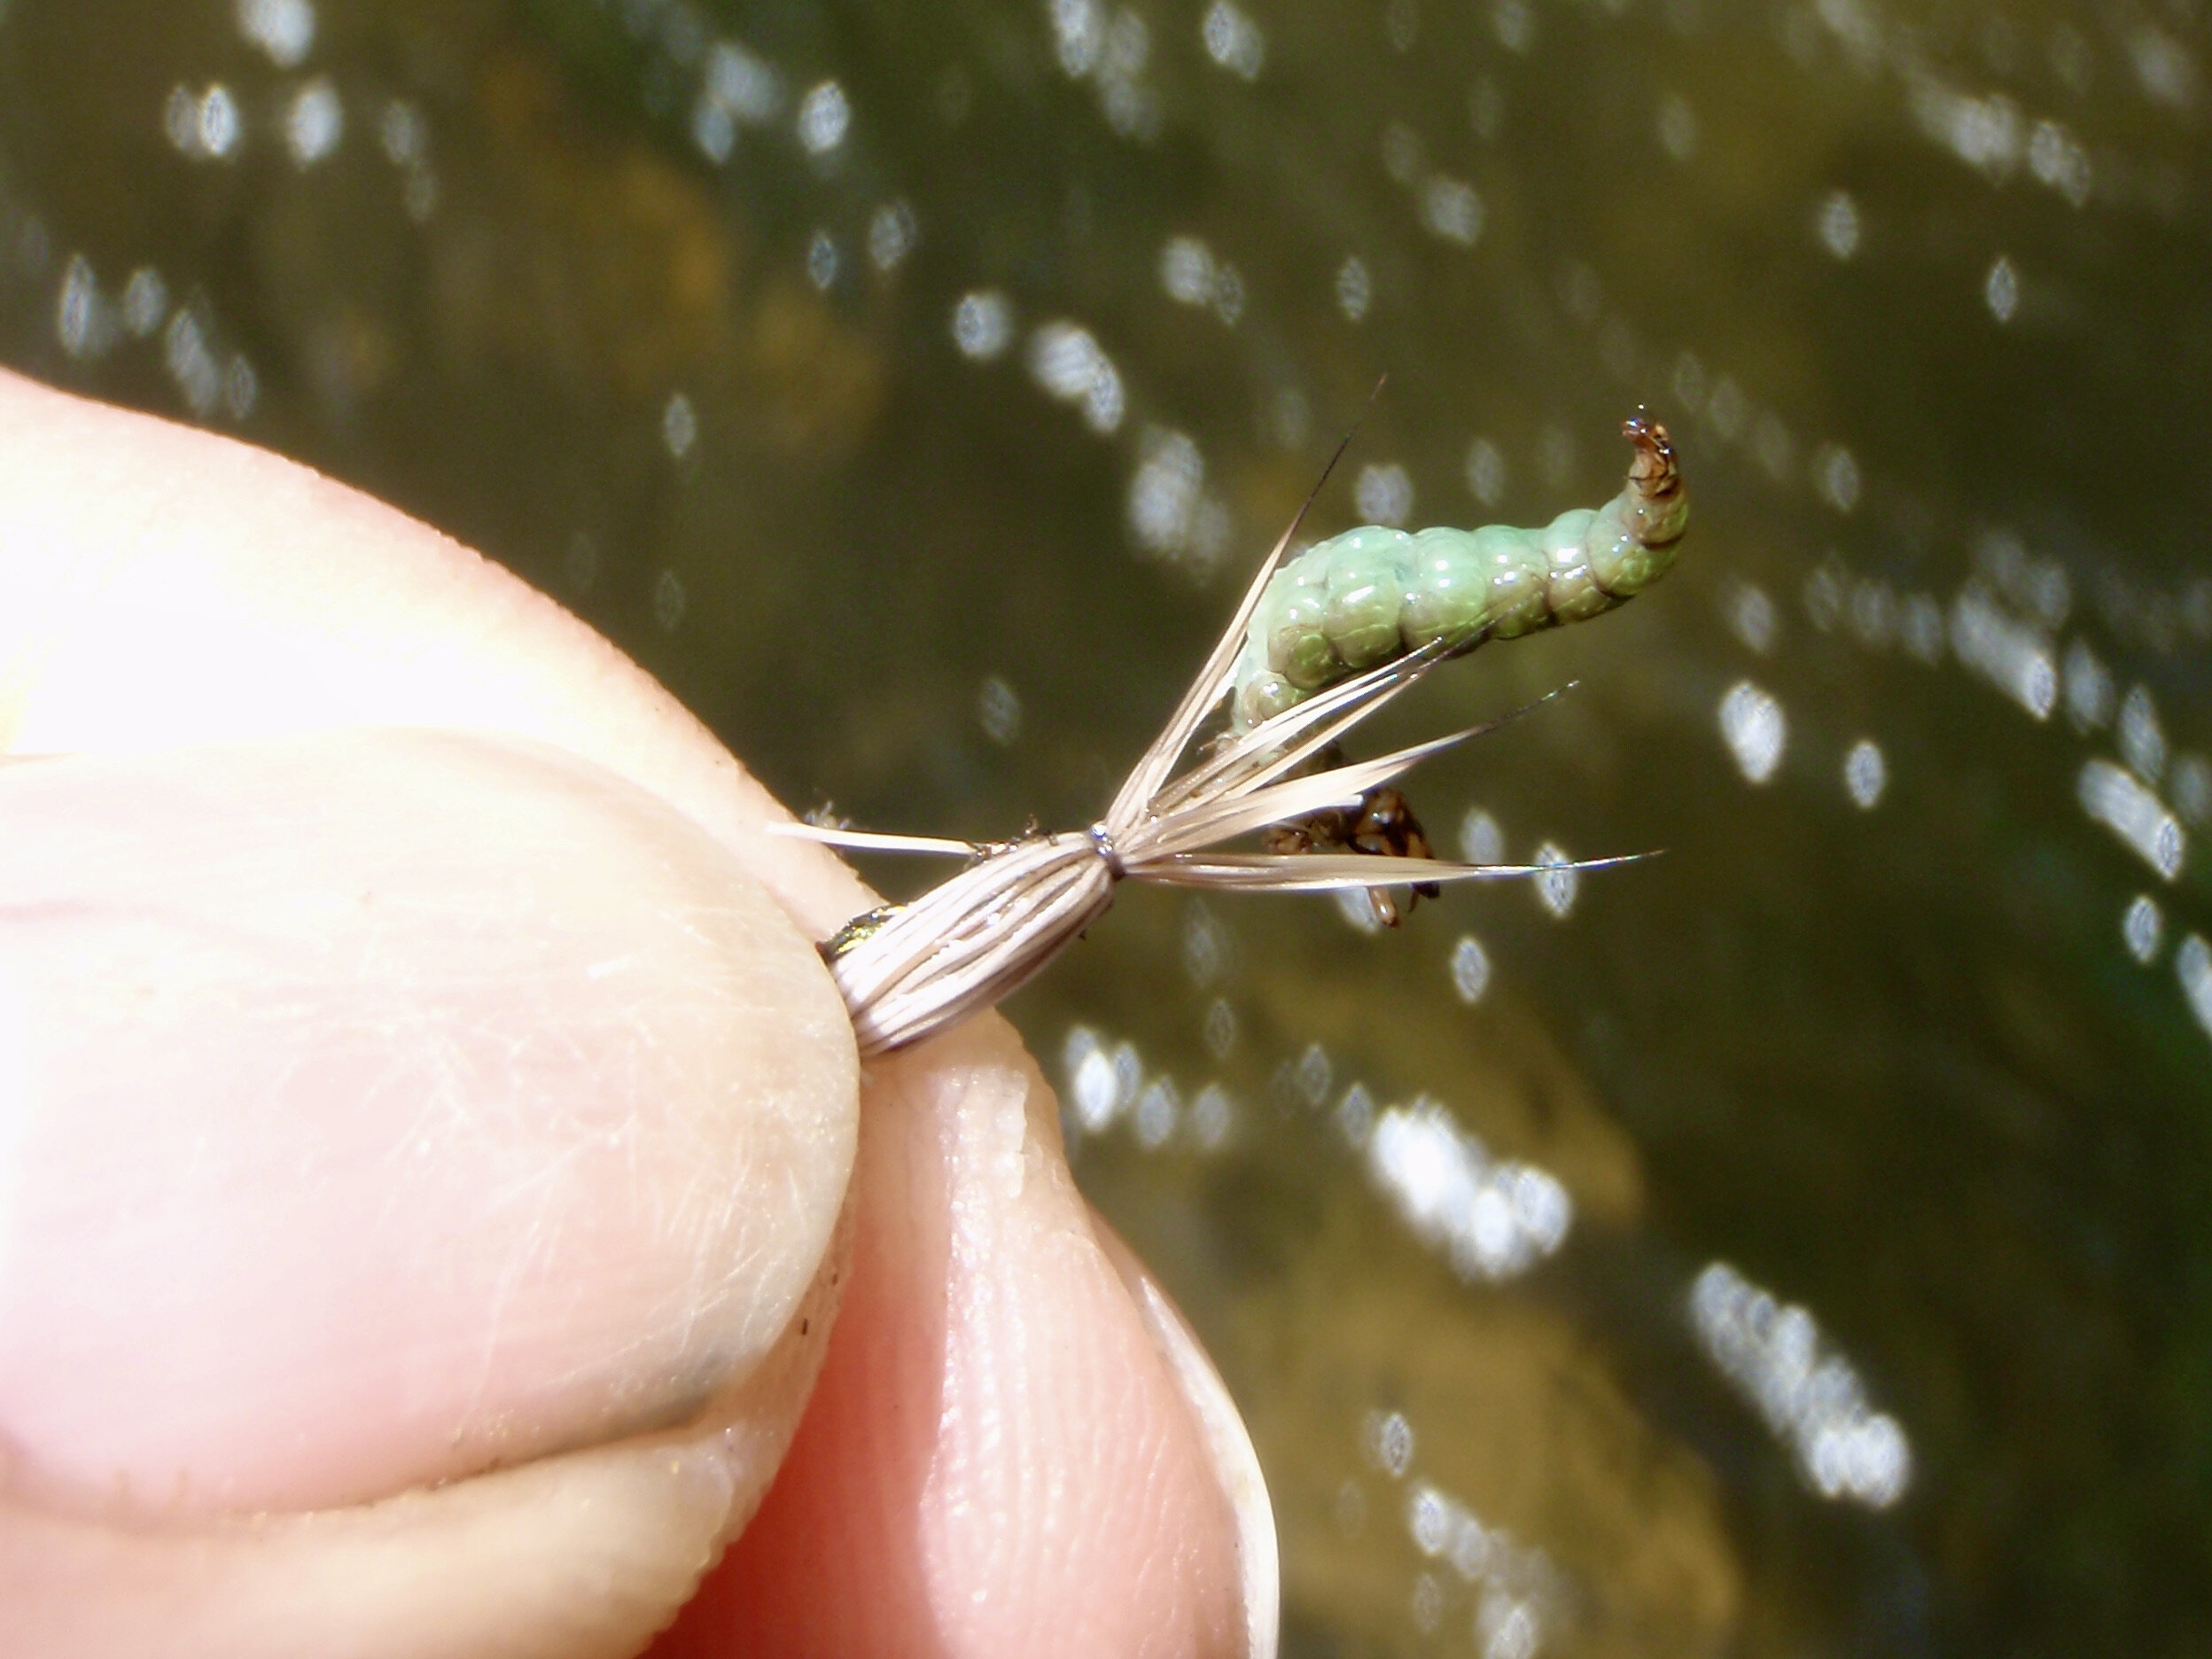
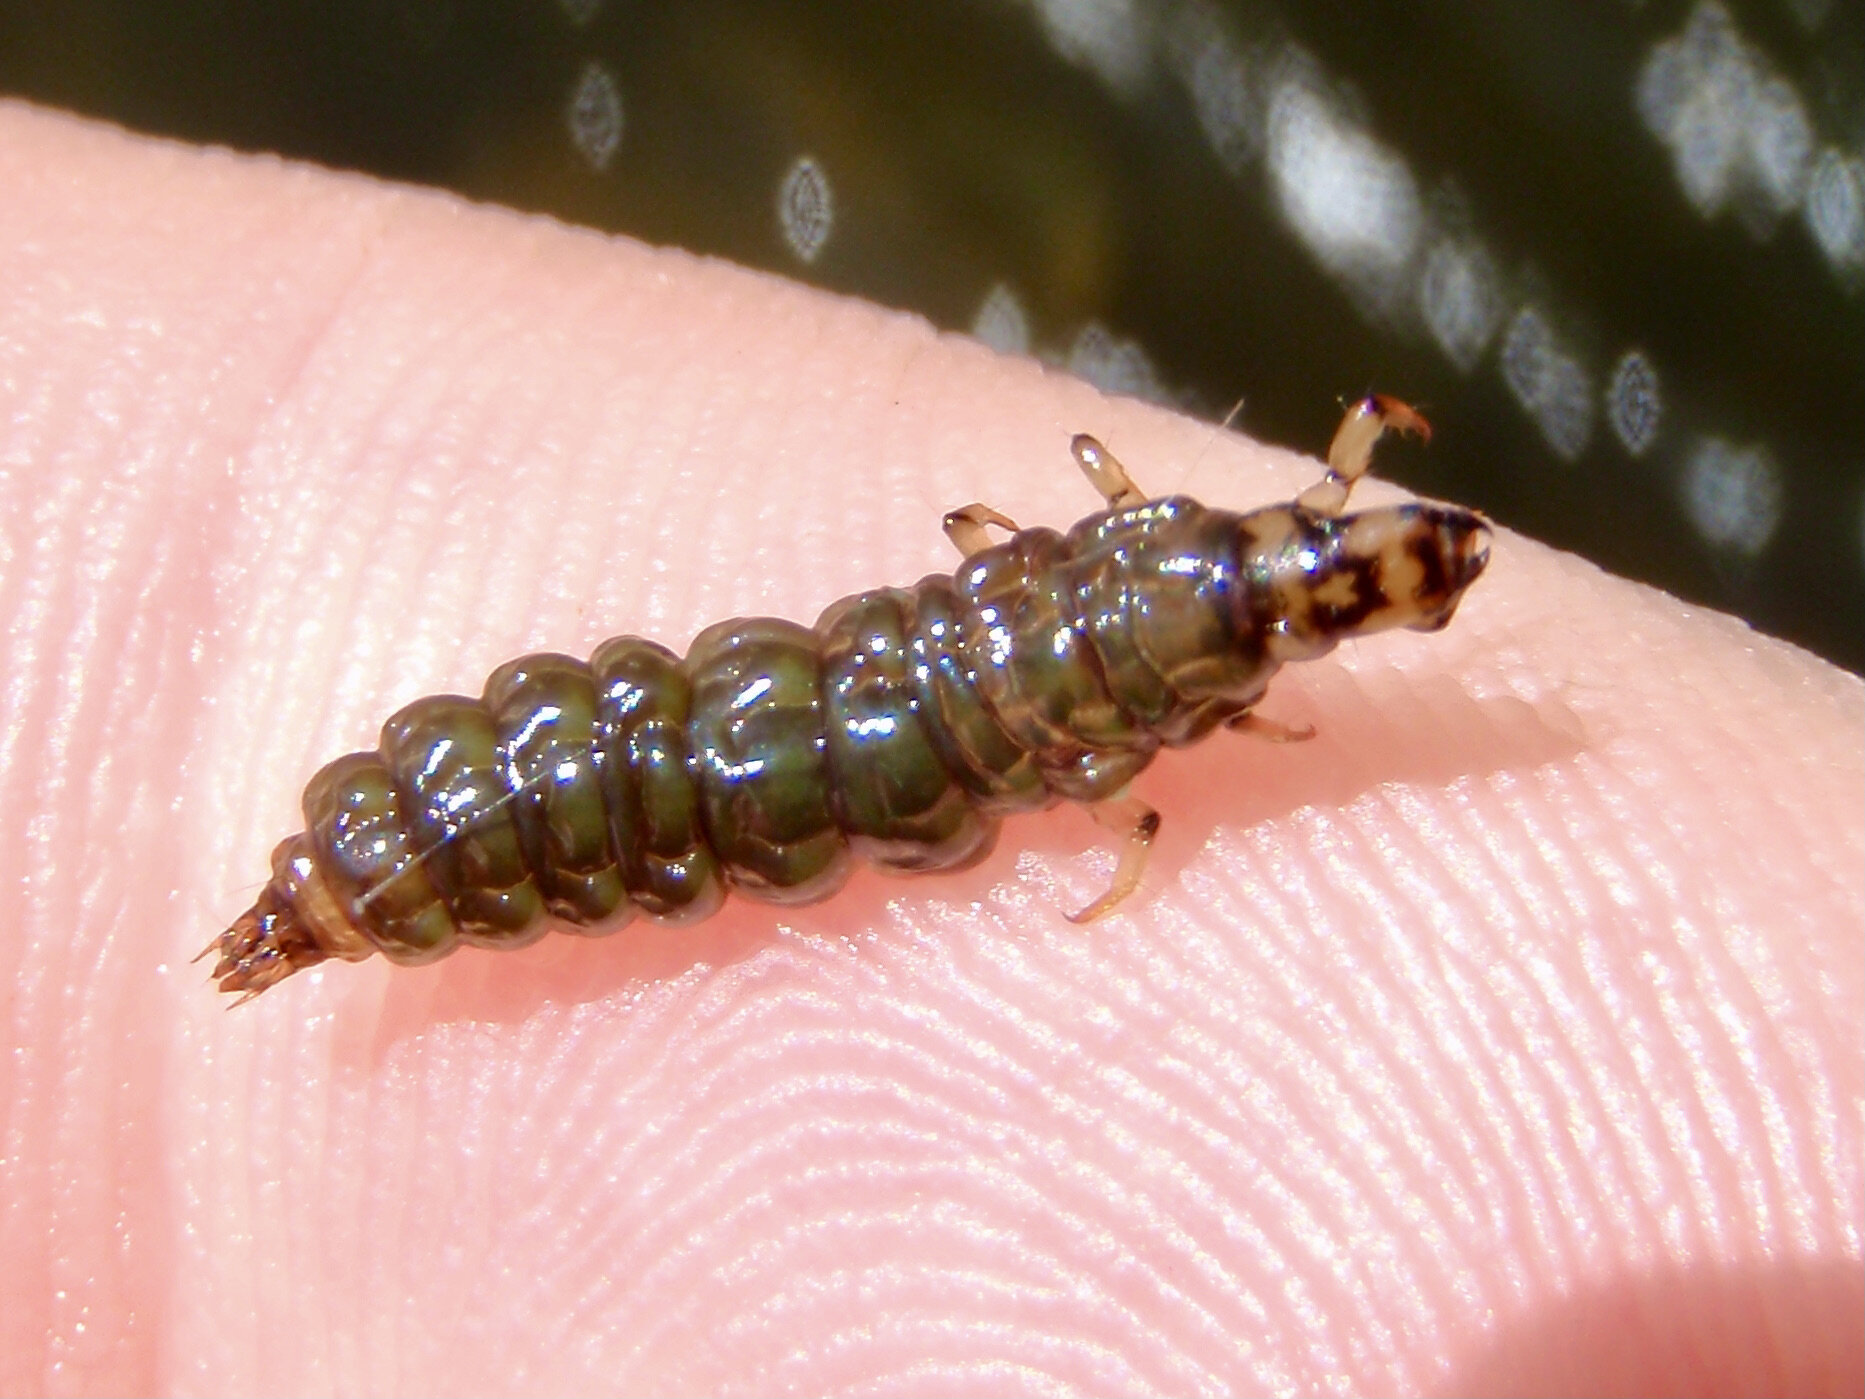
My introduction to this fly comes from the coldwater scene where flies like the Cooper Bug were used to imitate various terrestrial insects. I was first introduced to this pattern on the bank of a New Jersey trout stream by an elderly (meaning older than me!) fly fisherman. He told me it was the only fly he fished when caddisflies were out and about. He used the Cooper Bug to imitate all of the life stages of a caddis fly. This versatile pattern was used to imitate adult winged insects on the water's surface, fished it in the film or just below to imitate an emerging pupa or dredged it deep along the bottom, to represent a caddis larva or cased caddis. The photos below show a caddis larva that snagged itself on a bead-head version designed to fish deep. You know you're presenting the fly properly when it is catching the bugs you are trying to imitate!
Whether fished on the surface or dredged down deep the Cooper Bug proved to be a very effective pattern for my local trout. It was only a matter of time before I tried them in warmwater. As expected, the fly performed very well both as a terrestrial imitation and as a subsurface nymph/wet fly. I always have a few floating and sinking versions tucked away in a corner of a fly box and use them often.
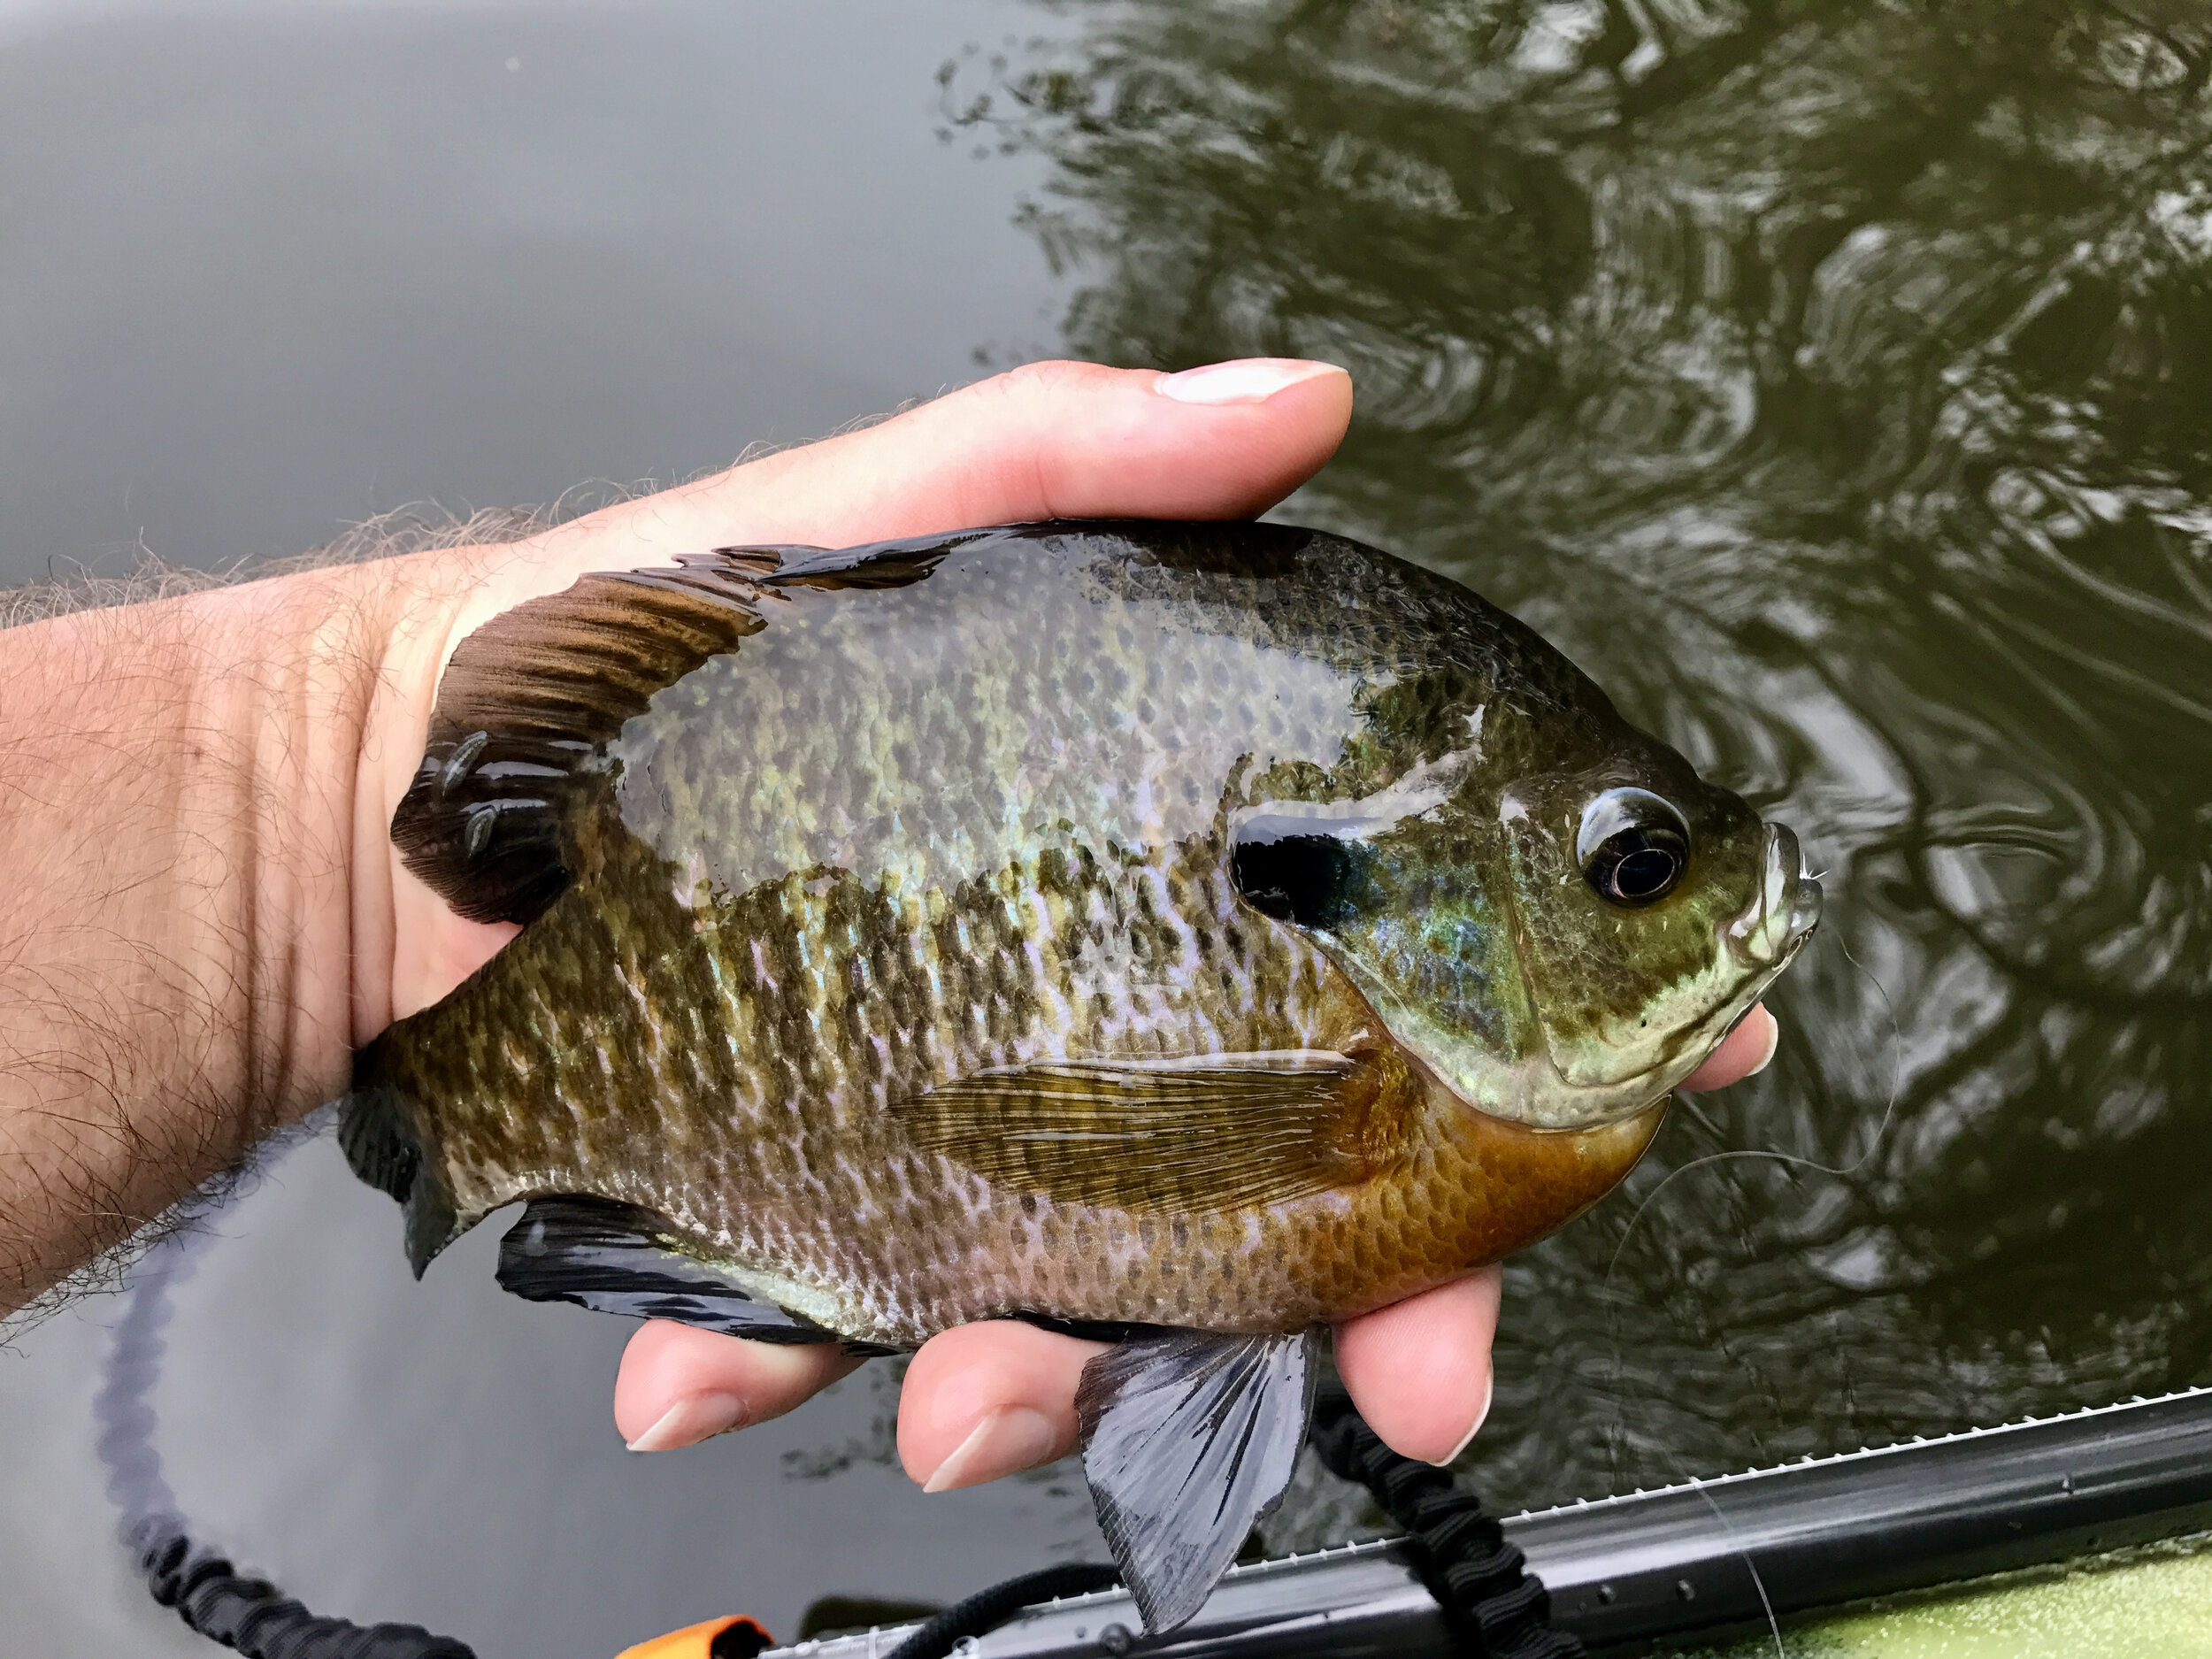
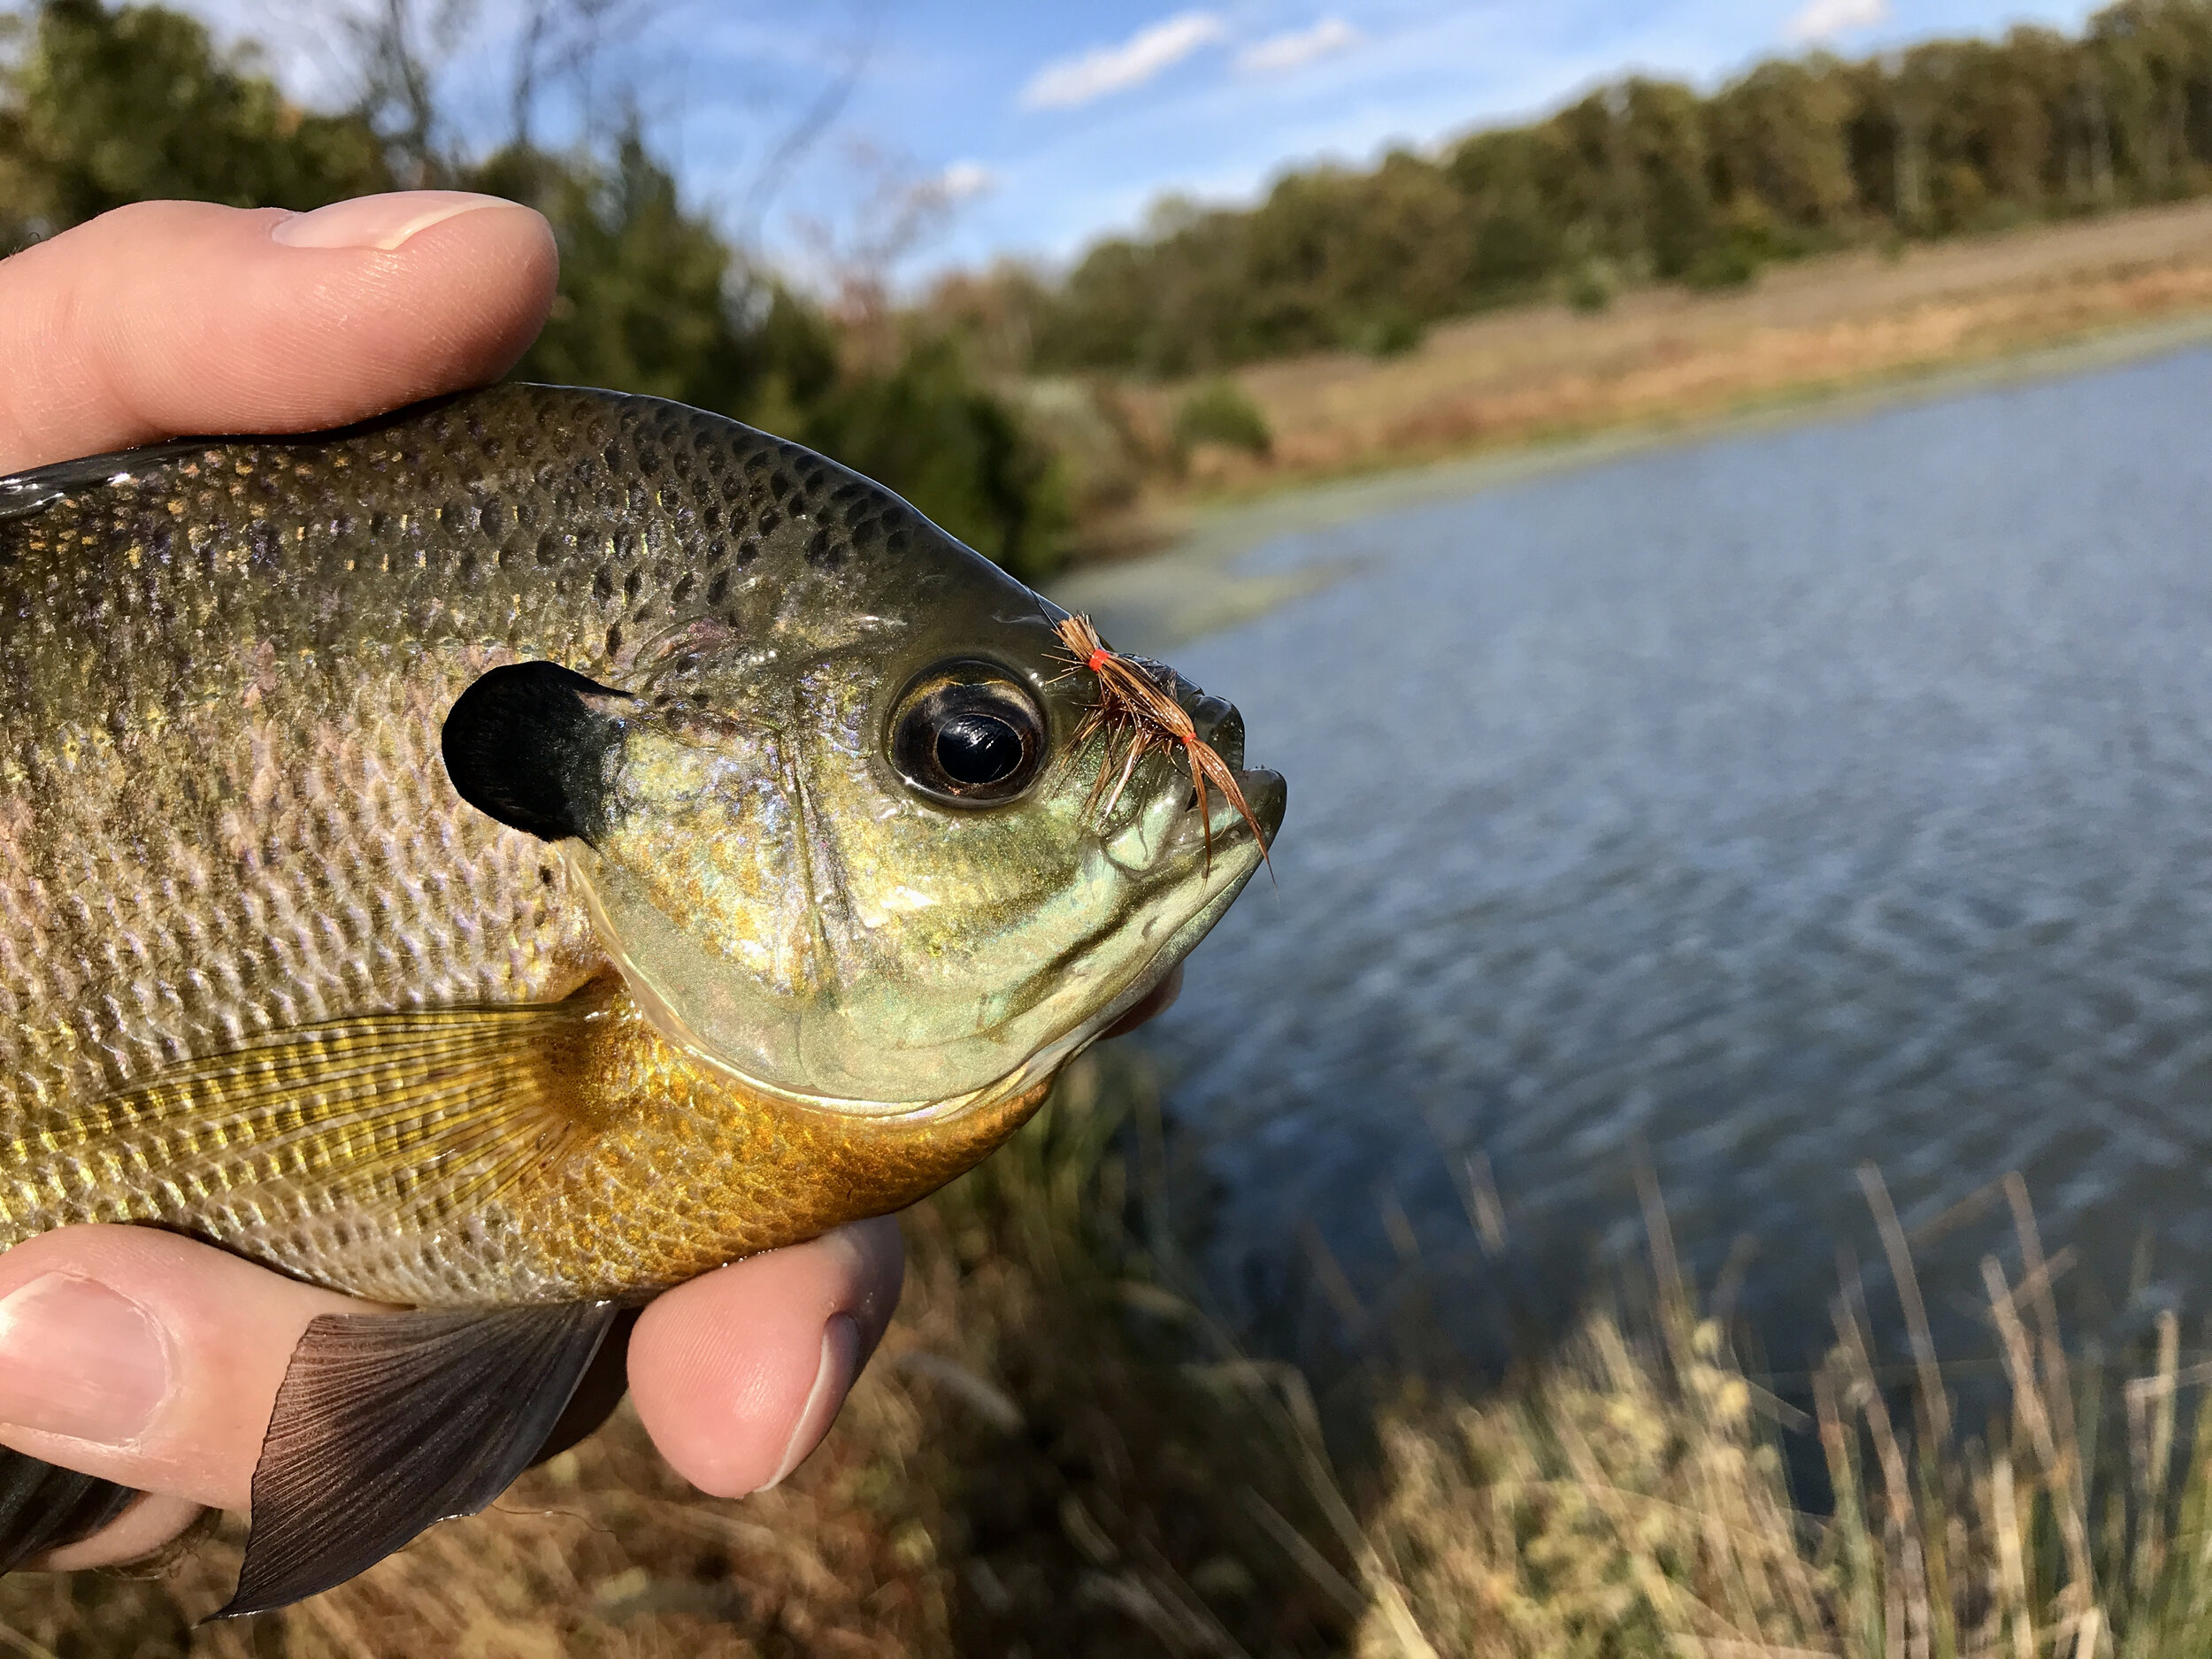
This bluegill probable took this floating Cooper Bug for a beetle that dropped in the water.
Since the Cooper Bug turned out to be such an effective fly in both cold and warm water I decided to learn a little more about it. When I researched the pattern, I discovered a fly of the same name and a very different design. As it turns out, there was a fly called the Cooper Bug that predates the version I was tying. Interestingly enough it had its roots planted in warmwater, not a trout stream.
The original Cooper Bug was created as a bass fly early in the last century and was initially called a Poodle Bug. A smaller version of the fly for targeting trout appears in Ray Bergman's Trout, published in 1938. The individual who provided the sample fly for the book changed the fly's name to the Cooper Bug, naming after its inventor George T Cooper. This version of the Cooper Bug had a red deer hair tail and a green wool/gold tinsel ribbed body. Instead of the shellback of folded deer hair, we are familiar with today, it had split deer hair wings that splayed off to each side of the fly. The butt ends of the deer hair were left sticking upright at the fly's head, which I assume was done to move more water and help see the low floating fly.

The Cooper Bug in Ray Bergman’s Trout is in the bottom right corner. This pattern is a clear departure from the other trout flies on this color plate.
The Cooper Bug I was initially introduced to was very similar to a fly called the Devil Bug. The only difference being the body material used. Both flies are tied in identical fashion with a tail and shell back of deer hair. The butt ends of the deer hair were clipped over the eye of the hook, creating a bulbous little head. The Cooper Bug I fish is tied with a peacock herl body as opposed to the traditional red wool yarn found on the Devil Bug.

An olive (bass style) Devil Bug tied for panfish. This updated version features rubber legs and red Floating Poly Yarn for the body. The shell back and popping lip are coated with Solarez Flex UV Resin to protect the hair and keep its form.
In trying to learn more about the fly I only ended up muddying the waters. The confusion stems from the fact that a Maine fly fisher named Jack Cooper developed the fly we know today as a Cooper Bug in the 1930s. He applied for a patent on the pattern but was denied because it closely resembled Orley Tuttle's Devil Bug. Orley's Devil Bug was a much larger, similarly constructed fly fished as a traditional bass bug and was developed before the Cooper bug. To make matters more confusing there is a fly called the Tom Thumb, a similarly tied fly developed in Canada or England (both have claims to it). The difference seems to be that instead of a clipped deer hair head, the fly is tied with deer hair tips extending over the eye. There is also the Doodle Bug which is a Devil Bug with clipped deer hair at booth ends. To make matters worse, what is commonly known as a devil bug today bears little resemblance to the original pattern.

A pair of original Cooper Bugs. On the left tied as described in Ray Bergman’s Trout. On the right, tied the way I prefer to fish them in solid colors with floating poly yarn replacing water absorbing wool yarn.
In the end, none of this really matters. Call the fly what you like. The important thing is that you tie a few up and fish them. I leave it up to you to decide whether it is a Cooper Bug, Devil Bug, Doodle Bug, or a Tom Thumb.
Both versions of the Cooper Bug and the original Devil Bug have found their way into my panfish fly boxes. The original winged version of the Cooper Bug is an excellent imitation of a drowned winged insect such as a moth. A large bass-sized Cooper Bug is on my list to try. I have a few tied up I just have to remember to break them out one night. The big fly looks like it will need a substantial rod to cast it but I am sure it will entice a few bass.
What most folks know as a Cooper Bug today makes a great generic terrestrial pattern but is also effective when fished wet. If my floating Cooper Bug gets waterlogged I will often fish it wet for a few casts before drying it off. However, I tie sinking versions of the Cooper Bug with a lead wire underbody and/or a bead head.
The bass bug version of the Devil Bug is still a great bass fly but downsized a bit it also makes a great little panfish bug. The original bass bug version of the Devil Bug is a great warmwater pattern. I have a lot more to say on the Devil Bug but we will save that for a future blog post.

A modern Cooper Bug. The peacock here body was replaced with Semperfli’s Floating Poly Yarn topped with peacock green Straggle Legs. This modification creates a fly that floats incredibly well without added floating.
None of these flies are difficult to tie but working with deer hair may frustrate beginner tiers. Once you figure out how to deal with the slippery nature of deer hair and its tendency to flair it’s all downhill. These days I have swapped out classic materials with modern ones that enhance the fly's performance but do not change its appearance. Instead of the traditional wool yarn body, I now use Semperfli's Floating Poly Yarn, which keeps the fly floating much longer and does not require frequent applications of fly floatant. I also have moved away from peacock herl as it is very fragile. I now create the bodies out of Floating Poly Yarn and/or Straggle Legs for floating flies and switch over to Dirty Bug Yarn for sinking patterns. The end result is a fly that looks good, fishes as well or better, and is a lot more durable.
After a few fish your fly may start looking a little ratty. Deer hair tied in this fashion is prone to breaking and peacock herl can be very delicate. Don’t despair and keep fishing. They work even better when they are chewed up a bit!
The modern Cooper Bug with its folded deer hair shell back is a fantastic floating terrestrial imitation. I like to fish it with subtle twitches that drive fish crazy. Don’t worry if you notice some of the deer hair breaking off at either tie-in point after a few fish. They seem to work even better once they are chewed on a bit. I have even been known to rough up a freshly tied fly to recreate that chewed on appearance faster.
If you are not familiar with these flies give them a try. If you have a few tucked into your trout fly boxes why not give them a swim in some warmer water? You won’t be disappointed. Whether you tie them old school or new school, the Cooper Bug is a fly that should be in every panfisher’s fly box. They have certainly earned a place in mine!

Pattern Recipe: Original Winged Version of the Cooper Bug
Hook: Firehole 718 Size 4-14
Thread: Semperfli Classic Waxed 6/0 in the color of choice
Tail: Deer body hair (natural or dyed color of choice)
Body: Semperfli Floating Poly Yarn in the color of choice
Ribbing: Gold tinsel sized to match the size of the fly
Wing: Deer body hair (natural or dyed color of choice)
Head: Clipped deer hair
Pattern Recipe: Commonly Known Version
Hook: There are a lot of options. Standard dry fly and nymph hooks work fine in sizes 10-14. I have been tying a lot on Firehole Hooks lately and really like them. The flies pictured are tied on a Model 718 size 12. other good choices would be the Model 419 for floating versions or the Model 609 for a subsurface variant.
Thread: Semperfli Classic Waxed 6/0 in the color of choice
Tail: Deer body hair (natural or dyed color of choice)
Body: Semperfli Floating Poly Yarn in the color of choice or Semperfli Straggle Legs for a buggier appearance
Shellback: Deer body hair (natural or dyed color of choice)
Head: Clipped deer hair
UV Resin: Solarez Flex